

The art of bookbinding became popular in the twentieth century when designers started making book covers to complement the contents inside. Examples of these ornately decorated books can be seen not only in library collections, but also in art galleries. Try binding a custom-made book of your own.
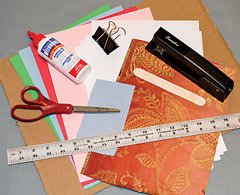 What you need:
• Blank paper sheets, 8½” x 5½”
• Craft stick (to act as a bone folder)
• Stapler
• Large piece of cardboard
• Ruler
• Craft glue
• Fabric strip, 5½” x 3”
• Scissors
• Large binder clip
• Decorative paper or fabric, 8½” x 11”
What you do:
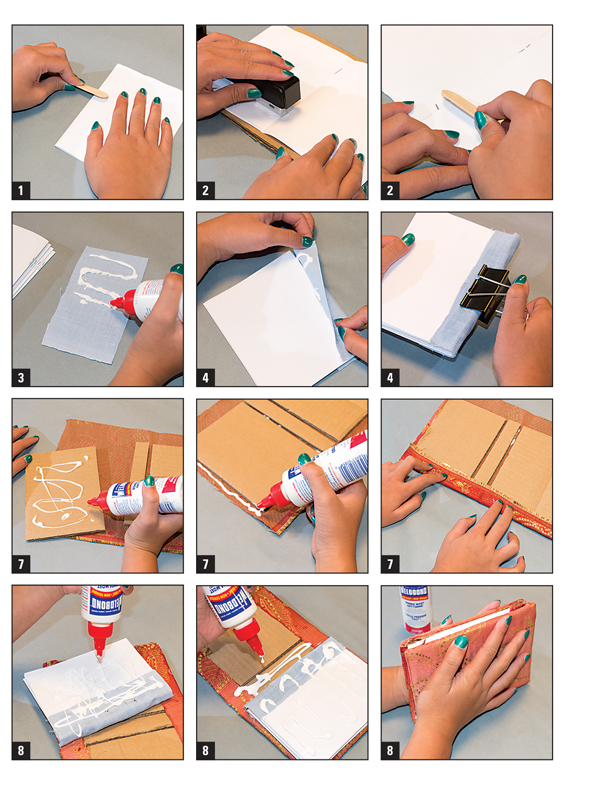 1.Create your signatures, or groups of pages, for your book by stacking the blank sheets of paper in sets of five. Fold each set in half using your craft stick as a bone folder, a tool used to precisely crease material.
2.Open one of the folded sets of five papers and place it on the cardboard. Staple down the crease of your paper stack; you may have to open your stapler to do this. Separate the signature from the cardboard and carefully bend back the staples flush to the paper using your craft stick. Repeat these first two steps, constructing additional signatures to make more pages in your book.
3.Stack all of your signatures, aligning all the folds and edges. Apply craft glue to the fabric strip to cover folded edges of signatures and
one inch beyond the fold on the top and bottom signatures.
4.Tightly wrap the fabric strip over your signatures and clamp with the binder clip. Set aside to dry.
5.Measure and cut your cardboard into three pieces: two pieces
should be 4½” x 6”; one should be ¾” x 6”.
6.Arrange the three pieces of cardboard on the backside of your decorative paper, placing the smaller piece between the two larger pieces with a small gap between each.
7.Use craft glue to adhere the cardboard to the decorative paper or fabric. Carefully wrap it around the cardboard pieces, smoothing out any wrinkles that may form.
8.To attach your signatures to your cover, remove the binder clip and apply glue to the outside of the fabric binding as well as the top and bottom pages of your signature stack. Press the fabric binding into the small center cardboard strip and adhere the top and bottom pages to the front and back covers, respectively. Allow the glue to dry.
