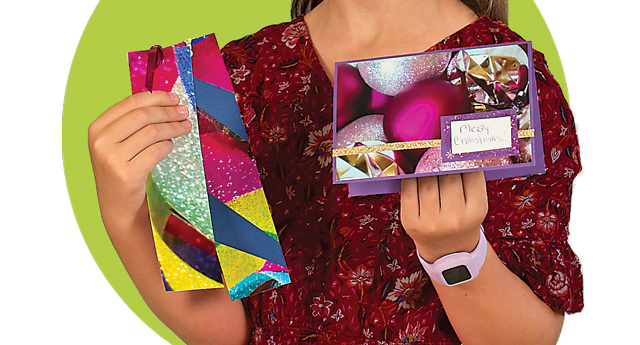

Here’s a creative photo-taking and craft-making project. Take festive photos, print them out, and upcycle them into holiday gifts – like bookmarks, greeting cards, or a set of notecards!
Check out Kids Can-Do at RFMonline.com for helpful photography tips from Lauren at the Cultural Arts Center at Glen Allen.
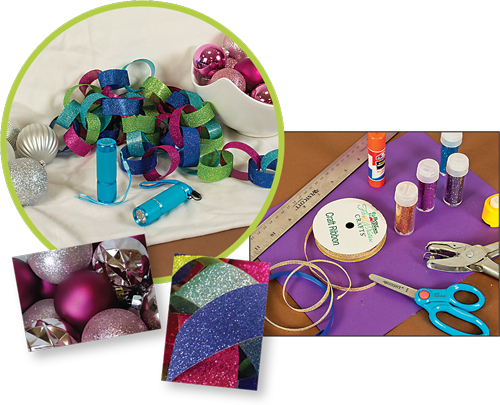
What you need:
• Holiday items for photo
(i.e., pumpkins and gourds, fall leaves, ornaments, glittery garland, ribbons, etc.)
• Fabric or paper
• Bowl or other container
• Camera (SLR or cell phone)
• Flashlights
• Sturdy cardstock, glue, scissors, ruler, hole punch, ribbon, stickers, decorative glittery tape
What you do:
- Lay out your background – a piece of fabric or scrapbook paper or wrapping paper – on a solid surface. Set items of interest on top; keep them close together. For ornaments, fill a bowl with baubles in various colors and textures. Set up flashlights so they light the subject you’ll be shooting. Enlist a partner to hold the flashlights.
- Prep your SLR camera for macro (close-up) photography or choose either the macro or auto setting on your cell phone camera to prepare for photographing smaller details.
- Start snapping photos! Move around a bit to get different angles and different colors or patterns. You’ll be amazed how moving the camera or yourself slightly changes the image.
- After your photo shoot, have some of your favorite pictures printed at CVS, Walgreens, or Walmart. You can also print at home on glossy stock if you have a better-quality color printer.
To make greeting cards or a set of notecards:
1. Fold a piece of cardstock in half lengthwise.
2. Attach a 4×6 print to one side, leaving a slight border around the sides.
3. Trim excess cardstock from the long side, leaving a slight border to match the other sides.
4. If desired, add embellishments such as glitter, stickers, or handwritten holiday messages to your photo image.

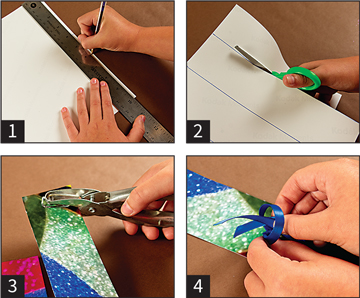
To make bookmarks:
1. Taking an 8×10 photo print, turn it to landscape view.
1. On the back, measure out two inches and draw a line from top to bottom at the 2-inch mark.
2. Cut out each 2-inch section to create unique bookmarks.
3. Punch a small hole in the top middle leaving at least a 1/4-inch at the top.
4. Tie a piece of ribbon through the hole and you’re all done.
Tip: You may want to reinforce the back of the photograph by gluing cardstock to it before you cut out your bookmarks.

Photos: Scott Schwartzkopf
