This two-for-one project means kids get to make their own paint set and then have fun creating original works of art. And there’s a science bonus: Learn about liquid and solid states of matter.
 What you need:
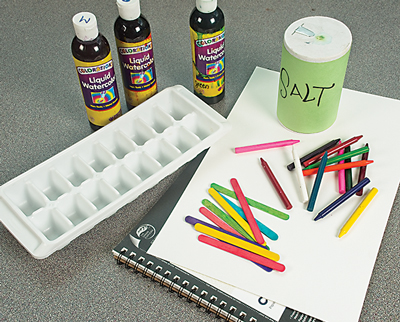
• Ice cube tray
• Watercolor paints or food coloring
• Craft sticks or clothespins
• Paper
• Crayons (optional)
• Salt (optional)
• Old shirt or art smock
What you do:
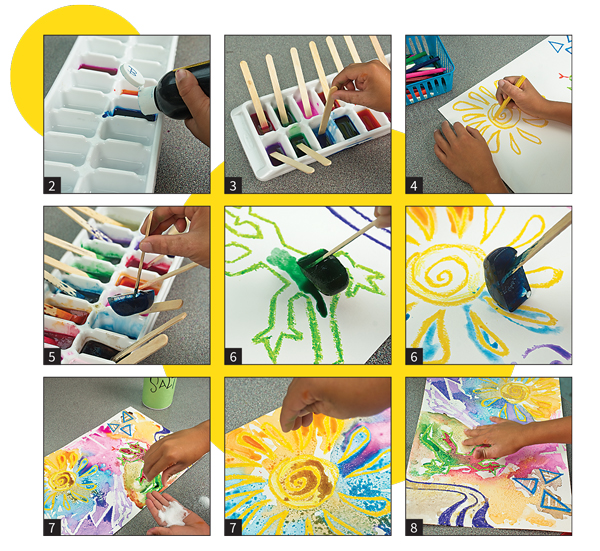
1. Put on an old shirt or art smock (especially if you’re using food coloring).
2. Fill an ice cube tray with water and add 4 to 5 drops of coloring for each ice cube.
3. Place one craft stick or clothespin in each section and freeze overnight.
4. Use a crayon to draw a design or picture on your paper.
5. Remove the ice cube trays from the freezer and gently pull out each ice cube by using the craft stick or clothespin. 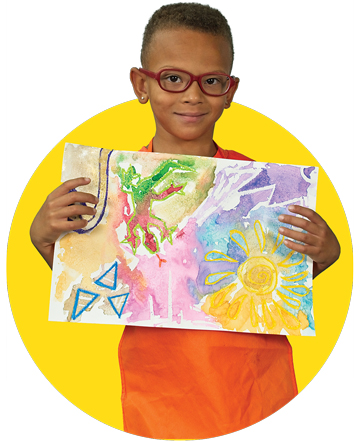
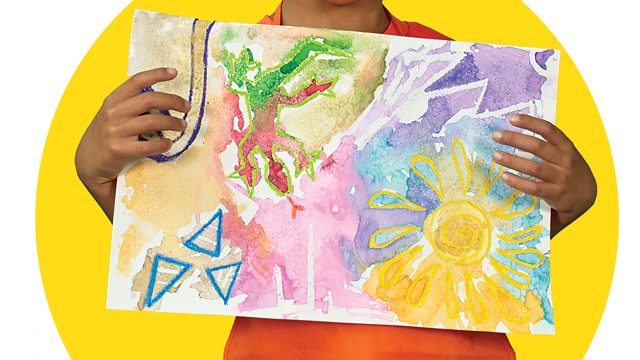
6. Paint with each color however you would like. Notice how the crayon on the paper creates a resist and prevents the ice paint from being absorbed into the paper.
7. While your painting is still wet, sprinkle salt over your paper.
8. Allow your painting to dry, then shake off excess salt. This will create a cool effect that looks almost like stars, rain, or snow.
9. Display your painting for all to see.